If you’re into old cars (or surprisingly modern Chevy trucks), chances are you’ve been around drum brakes. You’ve probably heard that discs are better, and that’s true in general. Discs don’t overheat as easily, they have fewer moving parts, and they just plain work better. So, why would you want to keep drum brakes on your vehicle if they’re more complicated and don’t work as well as discs?
Drum brakes offer a few stylistic advantages over disc brakes, and really aren’t that bad if you aren’t road racing. However, drums are a lot more intimidating if you have never worked on them. They’re full of springs going in every direction, two friction surfaces that are, wait… Are they the same size?, and you can’t just look at them through your wheels to see if you need to replace them. This guide will help you understand some of the things I have dealt with on my own classics. At the time of writing, I own three, and they all have four-wheel drum brakes.
I’ll start with detailing the last part of the previous paragraph. Ever since automakers decided it was a good idea to put brakes on all four wheels, it has been worth noting the configuration of your braking system. Virtually all cars made in the past ten years have four-wheel, power disc brakes. However, this wasn’t the case for a long time. Henry Ford infamously opposed his cars having hydraulic brakes at all until 1939. Ever heard of ’40 Ford “juice” brakes? That’s where the term comes from. With the blue oval finally onboard with hydraulic brakes, the next major innovation was the federal government’s 1967 mandate that all braking systems have a dual-line master cylinder. That means there are separate circuits of brake fluid for the front and rear brakes, which prevents you from losing all stopping power if there is one leak in the line. My 1965 GTO still has the original single-line, non-boosted master cylinder, but my 1968 Camaro has the federally-mandated dual-line master cylinder. Boosted or non-boosted brakes are also known as power or manual brakes, respectively. Power brakes pull vacuum off the engine through the brake booster to apply pressure to the wheel cylinders on a drum brake system (calipers on disc brakes), making the pedal feel more like a spring and less like a brick. Many American cars made from the 1960’s to the 1990’s have disc brakes in the front and drum brakes in the rear, so it is important to consider the differences in required components depending on what your car has.
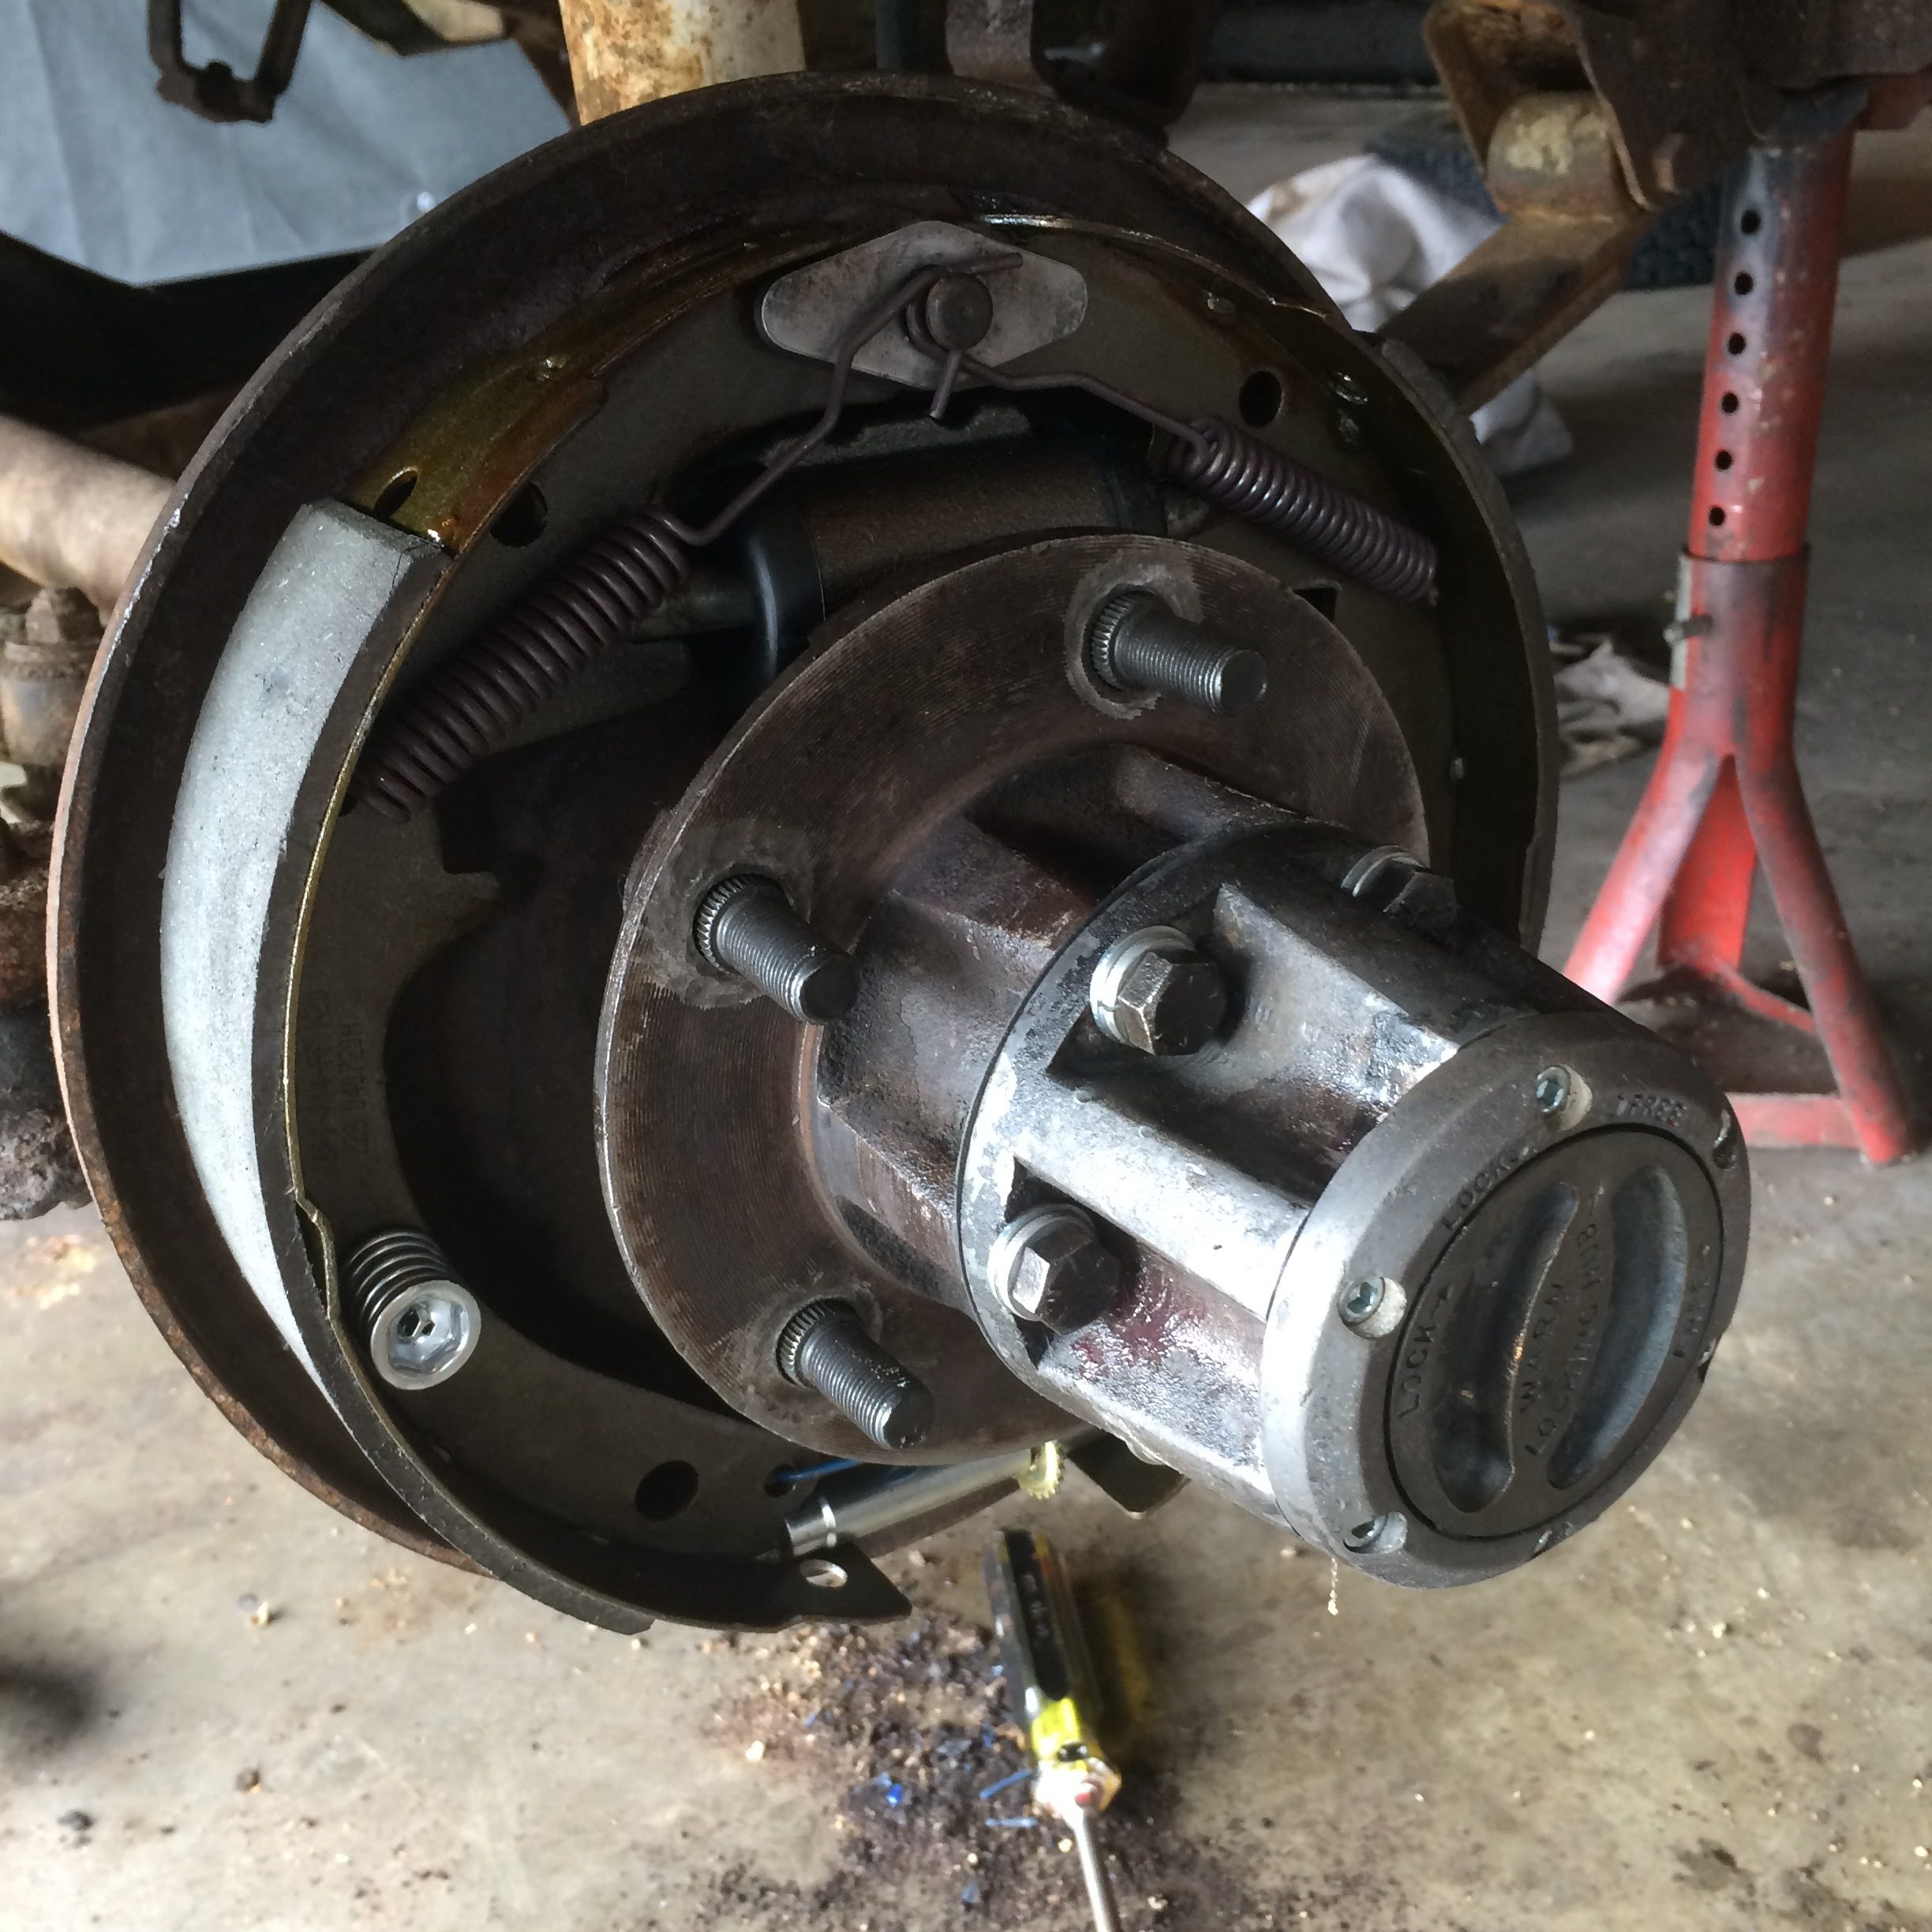
Now, let’s get to work on your drum brakes. Before you do anything, always remember this: DO NOT disassemble multiple drums at the same time. There is no better reference for the drum you’re working on than the still intact drum on the other side of your vehicle. Put on your safety glasses, then remove the wheel. After removing the wheel, remove the drum itself. Keep in mind that the drum might not come right off after you remove the wheel. Thousands of heat cycles and decades of rust might make the hunk of iron hesitant to come off. Typically, you can get it off with a little persuasion. If you have old drums, they should have a slot cut into them where you can insert a screwdriver, prybar, or brake spoon to turn the adjuster and move the shoes in and away from the drum. Sometimes, the adjuster is stuck or you don’t have that little slot in the drum. In that case, get out your hammer. Give the drum a few solid, but not violent, taps around the outside and between the wheel studs. See if the drum comes off now. You might pull the drum off and see the rest of the brake components fall off into the shop floor like on my GTO. You might get unlucky and have a bizarre problem still holding your drum on the hub. In that event, you will probably need a brake drum puller. This was the case for my 1970 Jeep Wagoneer. I placed the three claws of the puller around the perimeter of the drum, and proceeded to crank and impact wrench the puller until the drum finally snapped free.
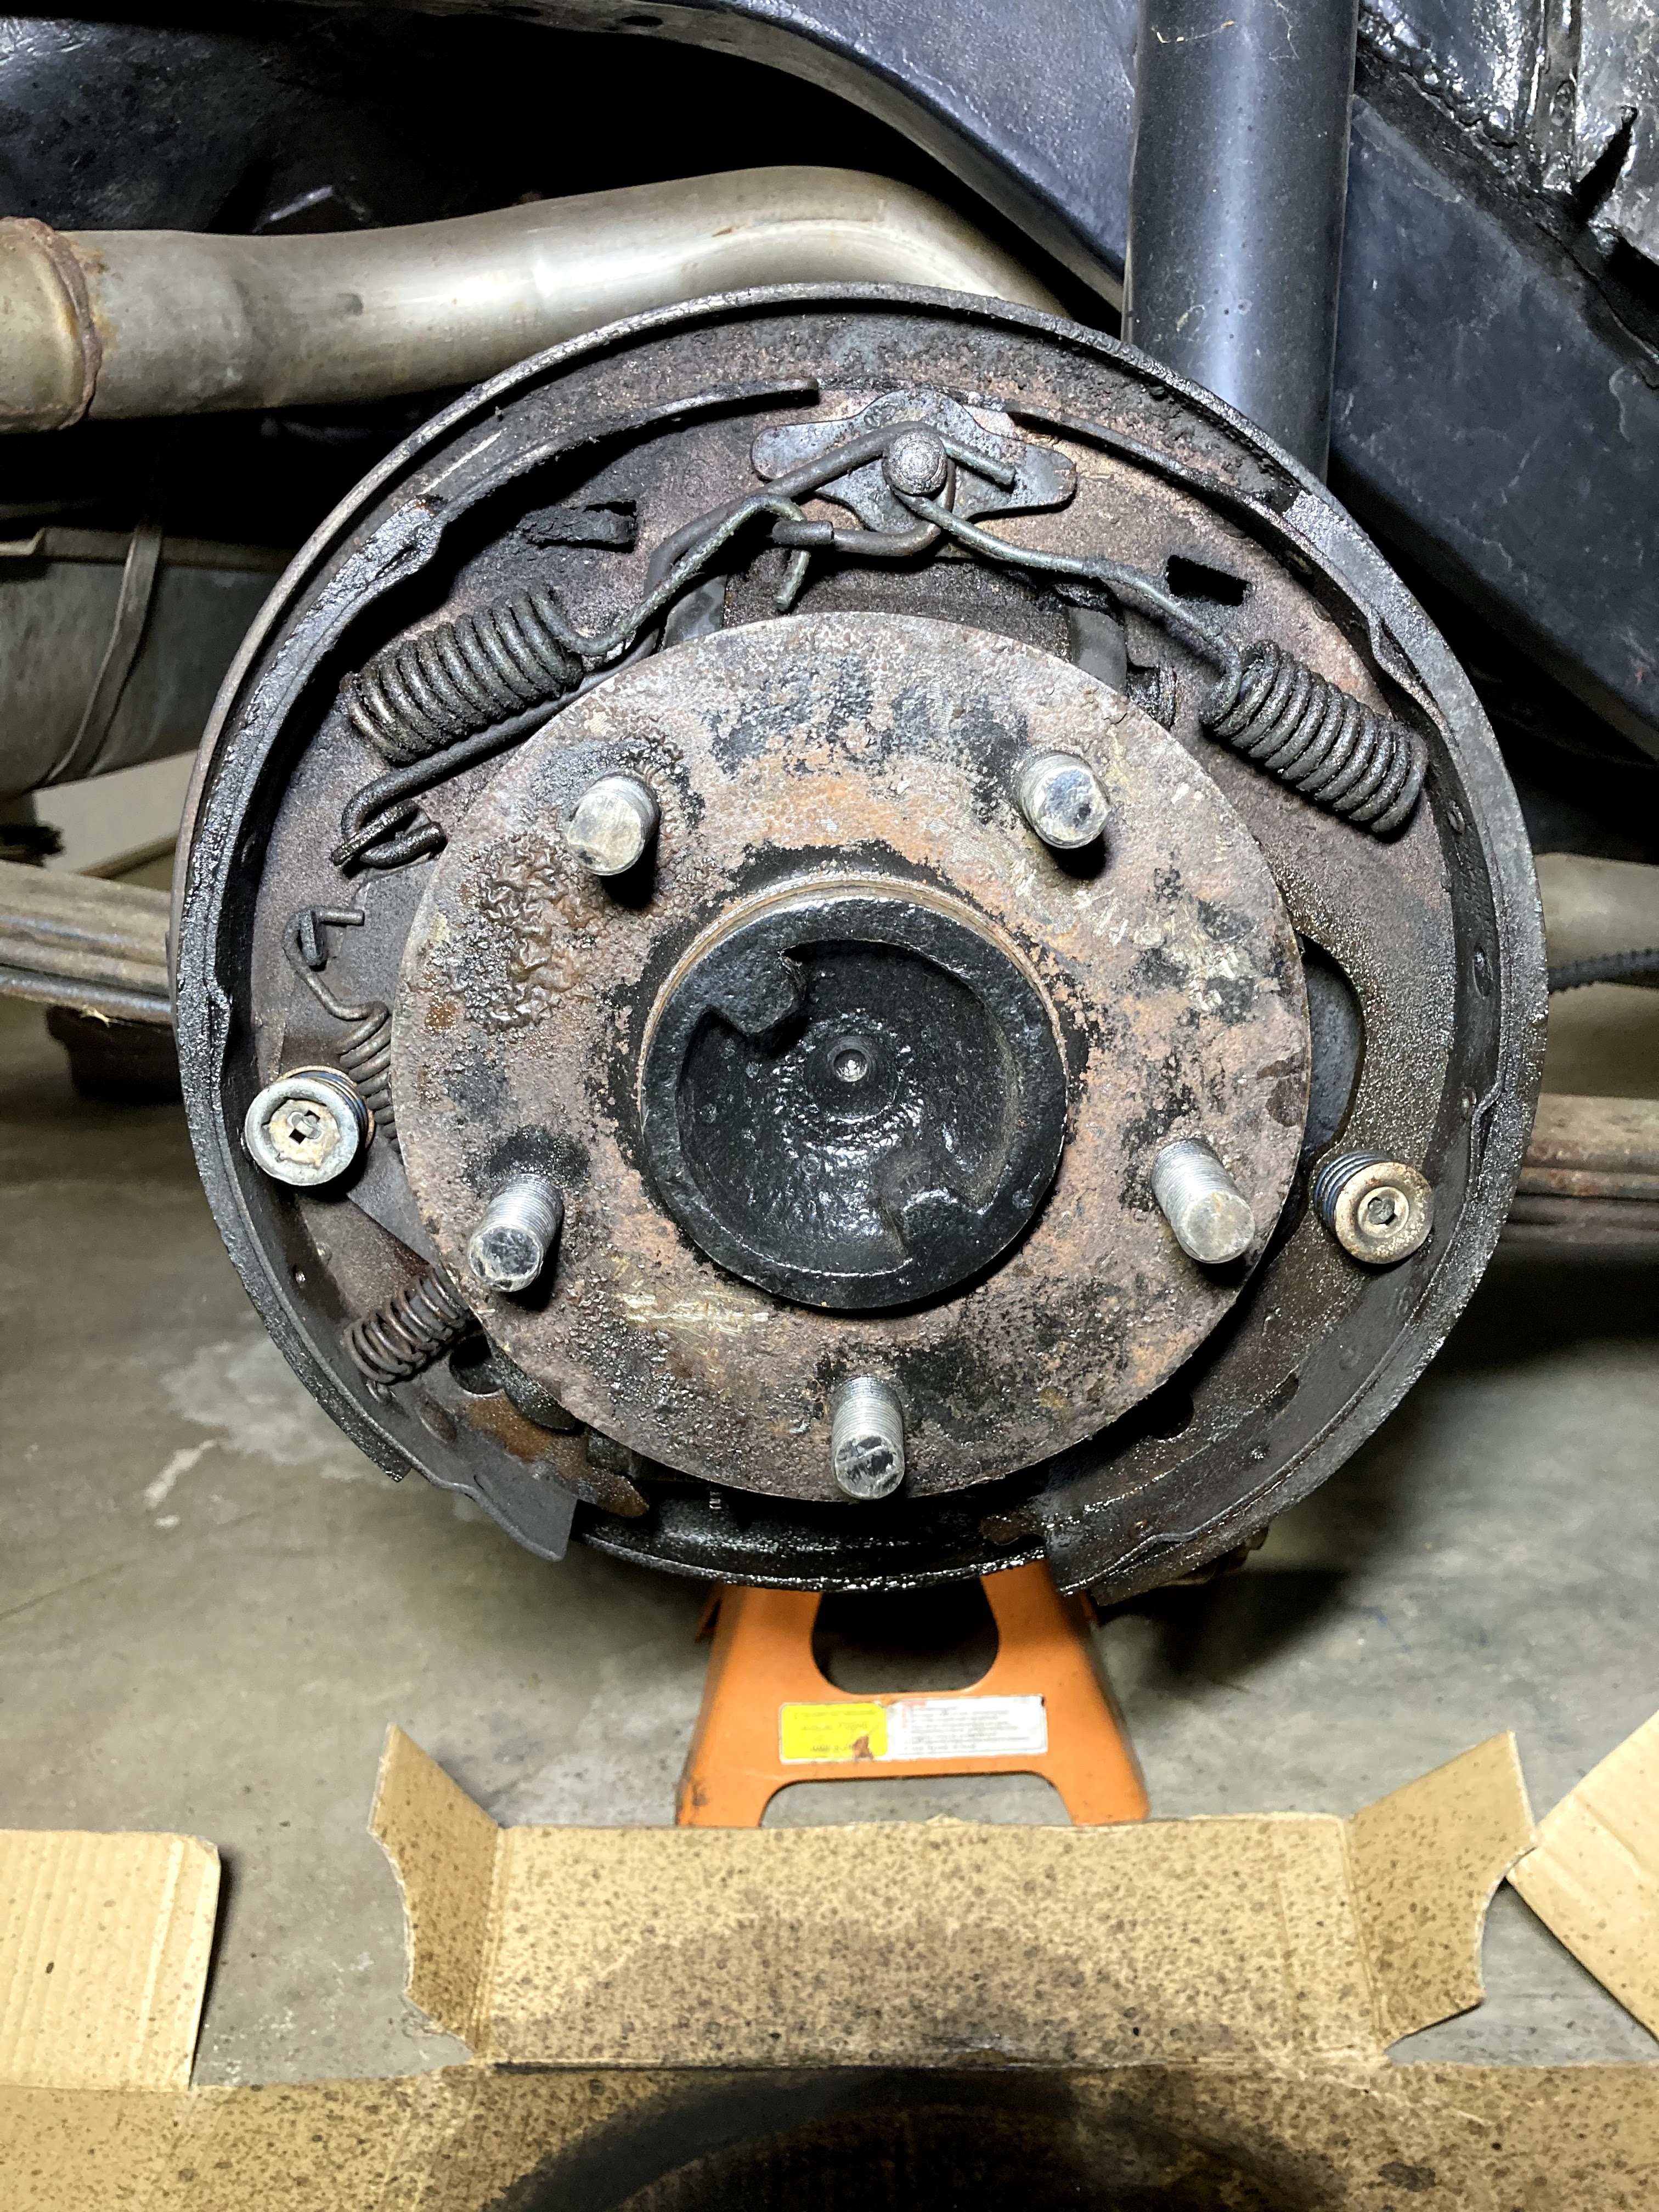
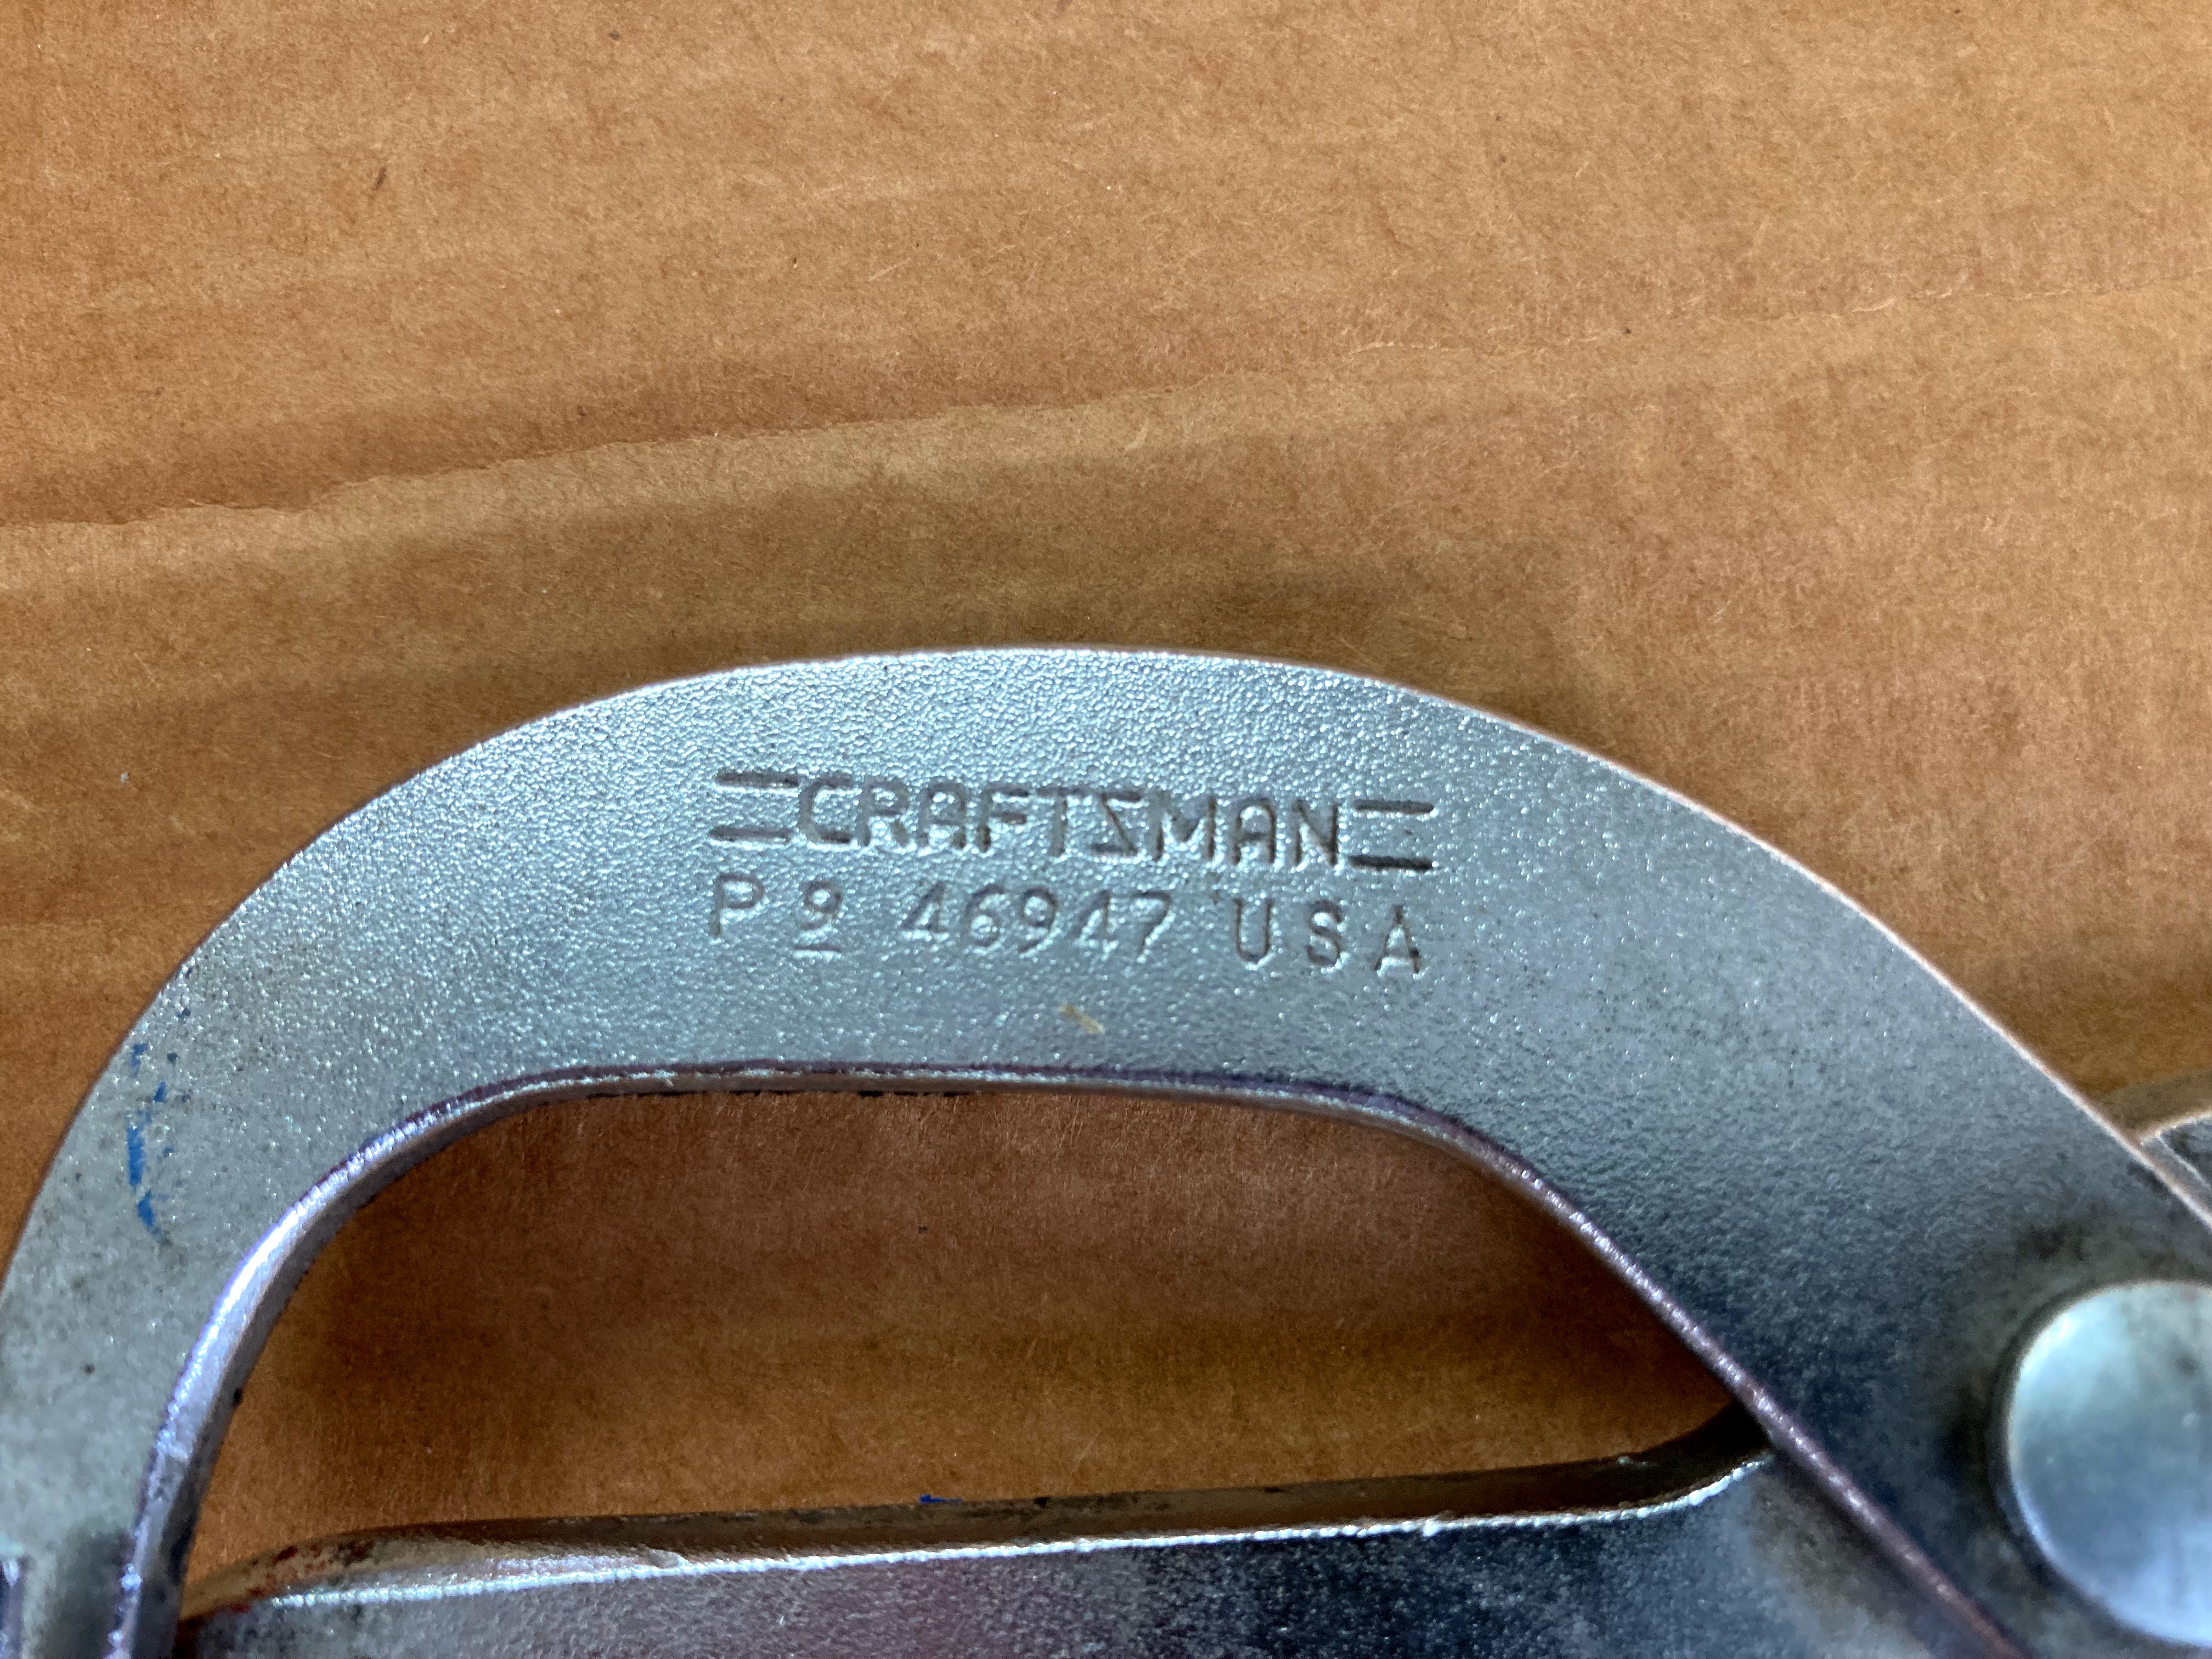
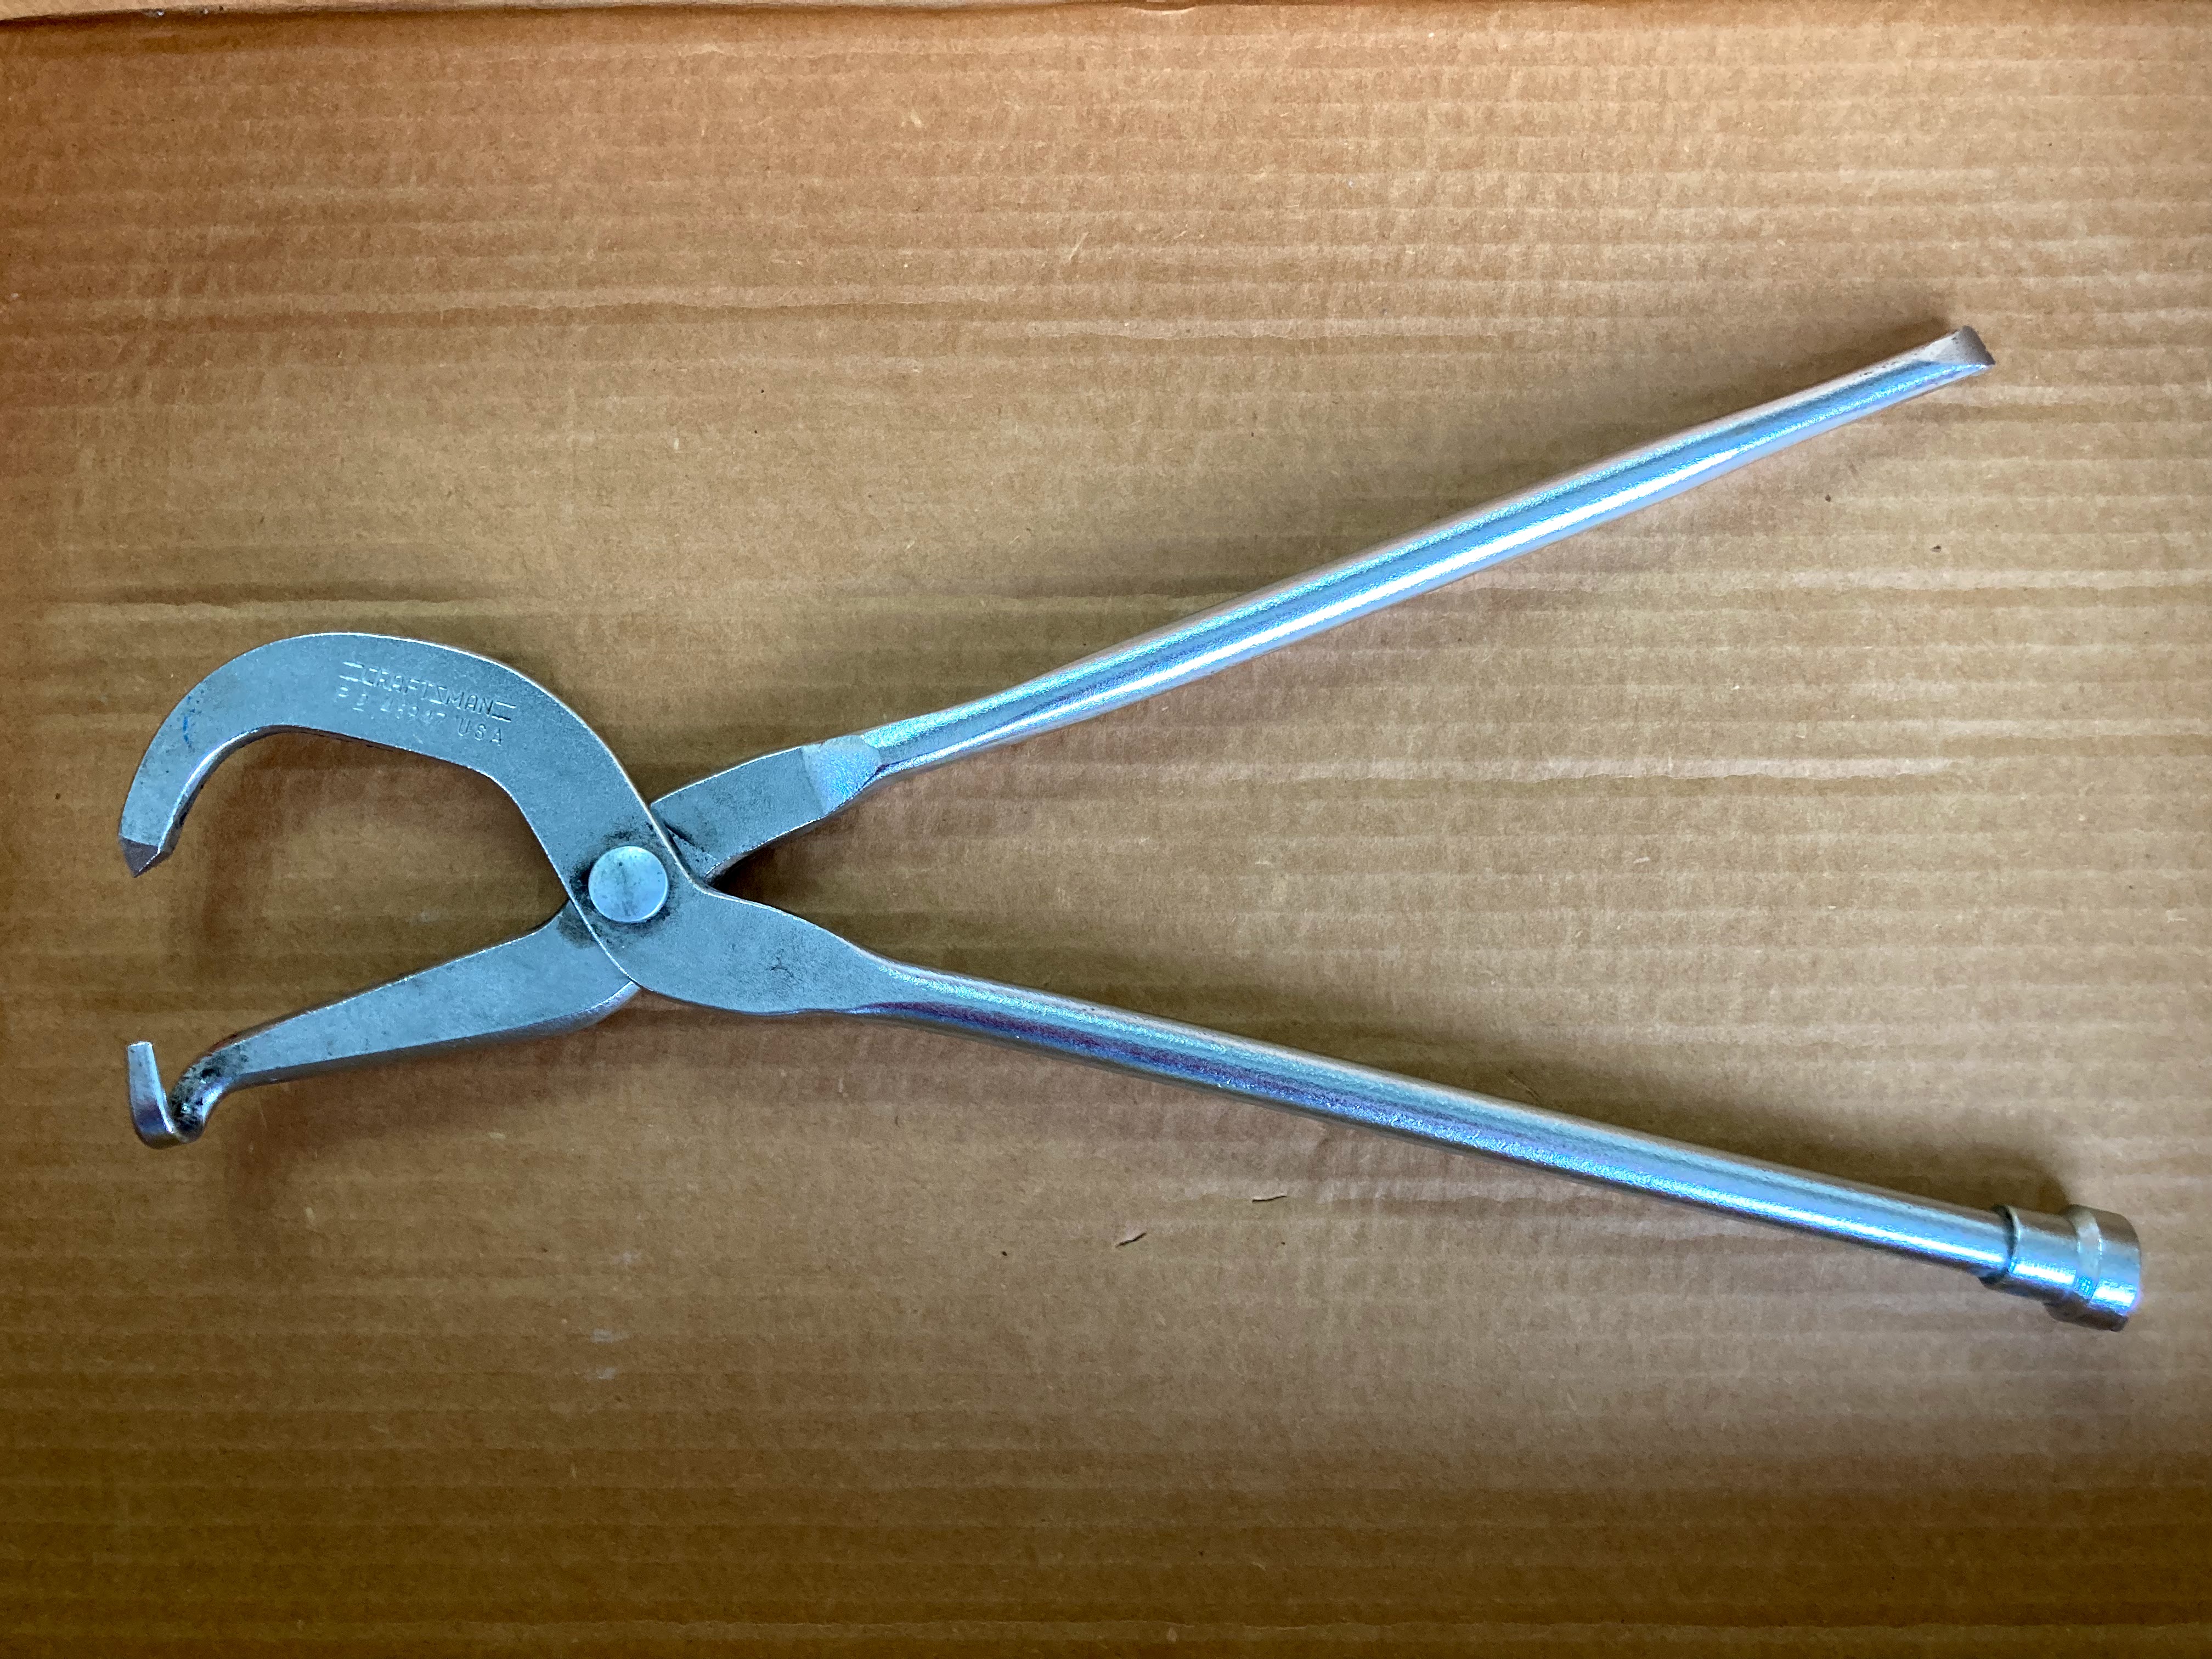
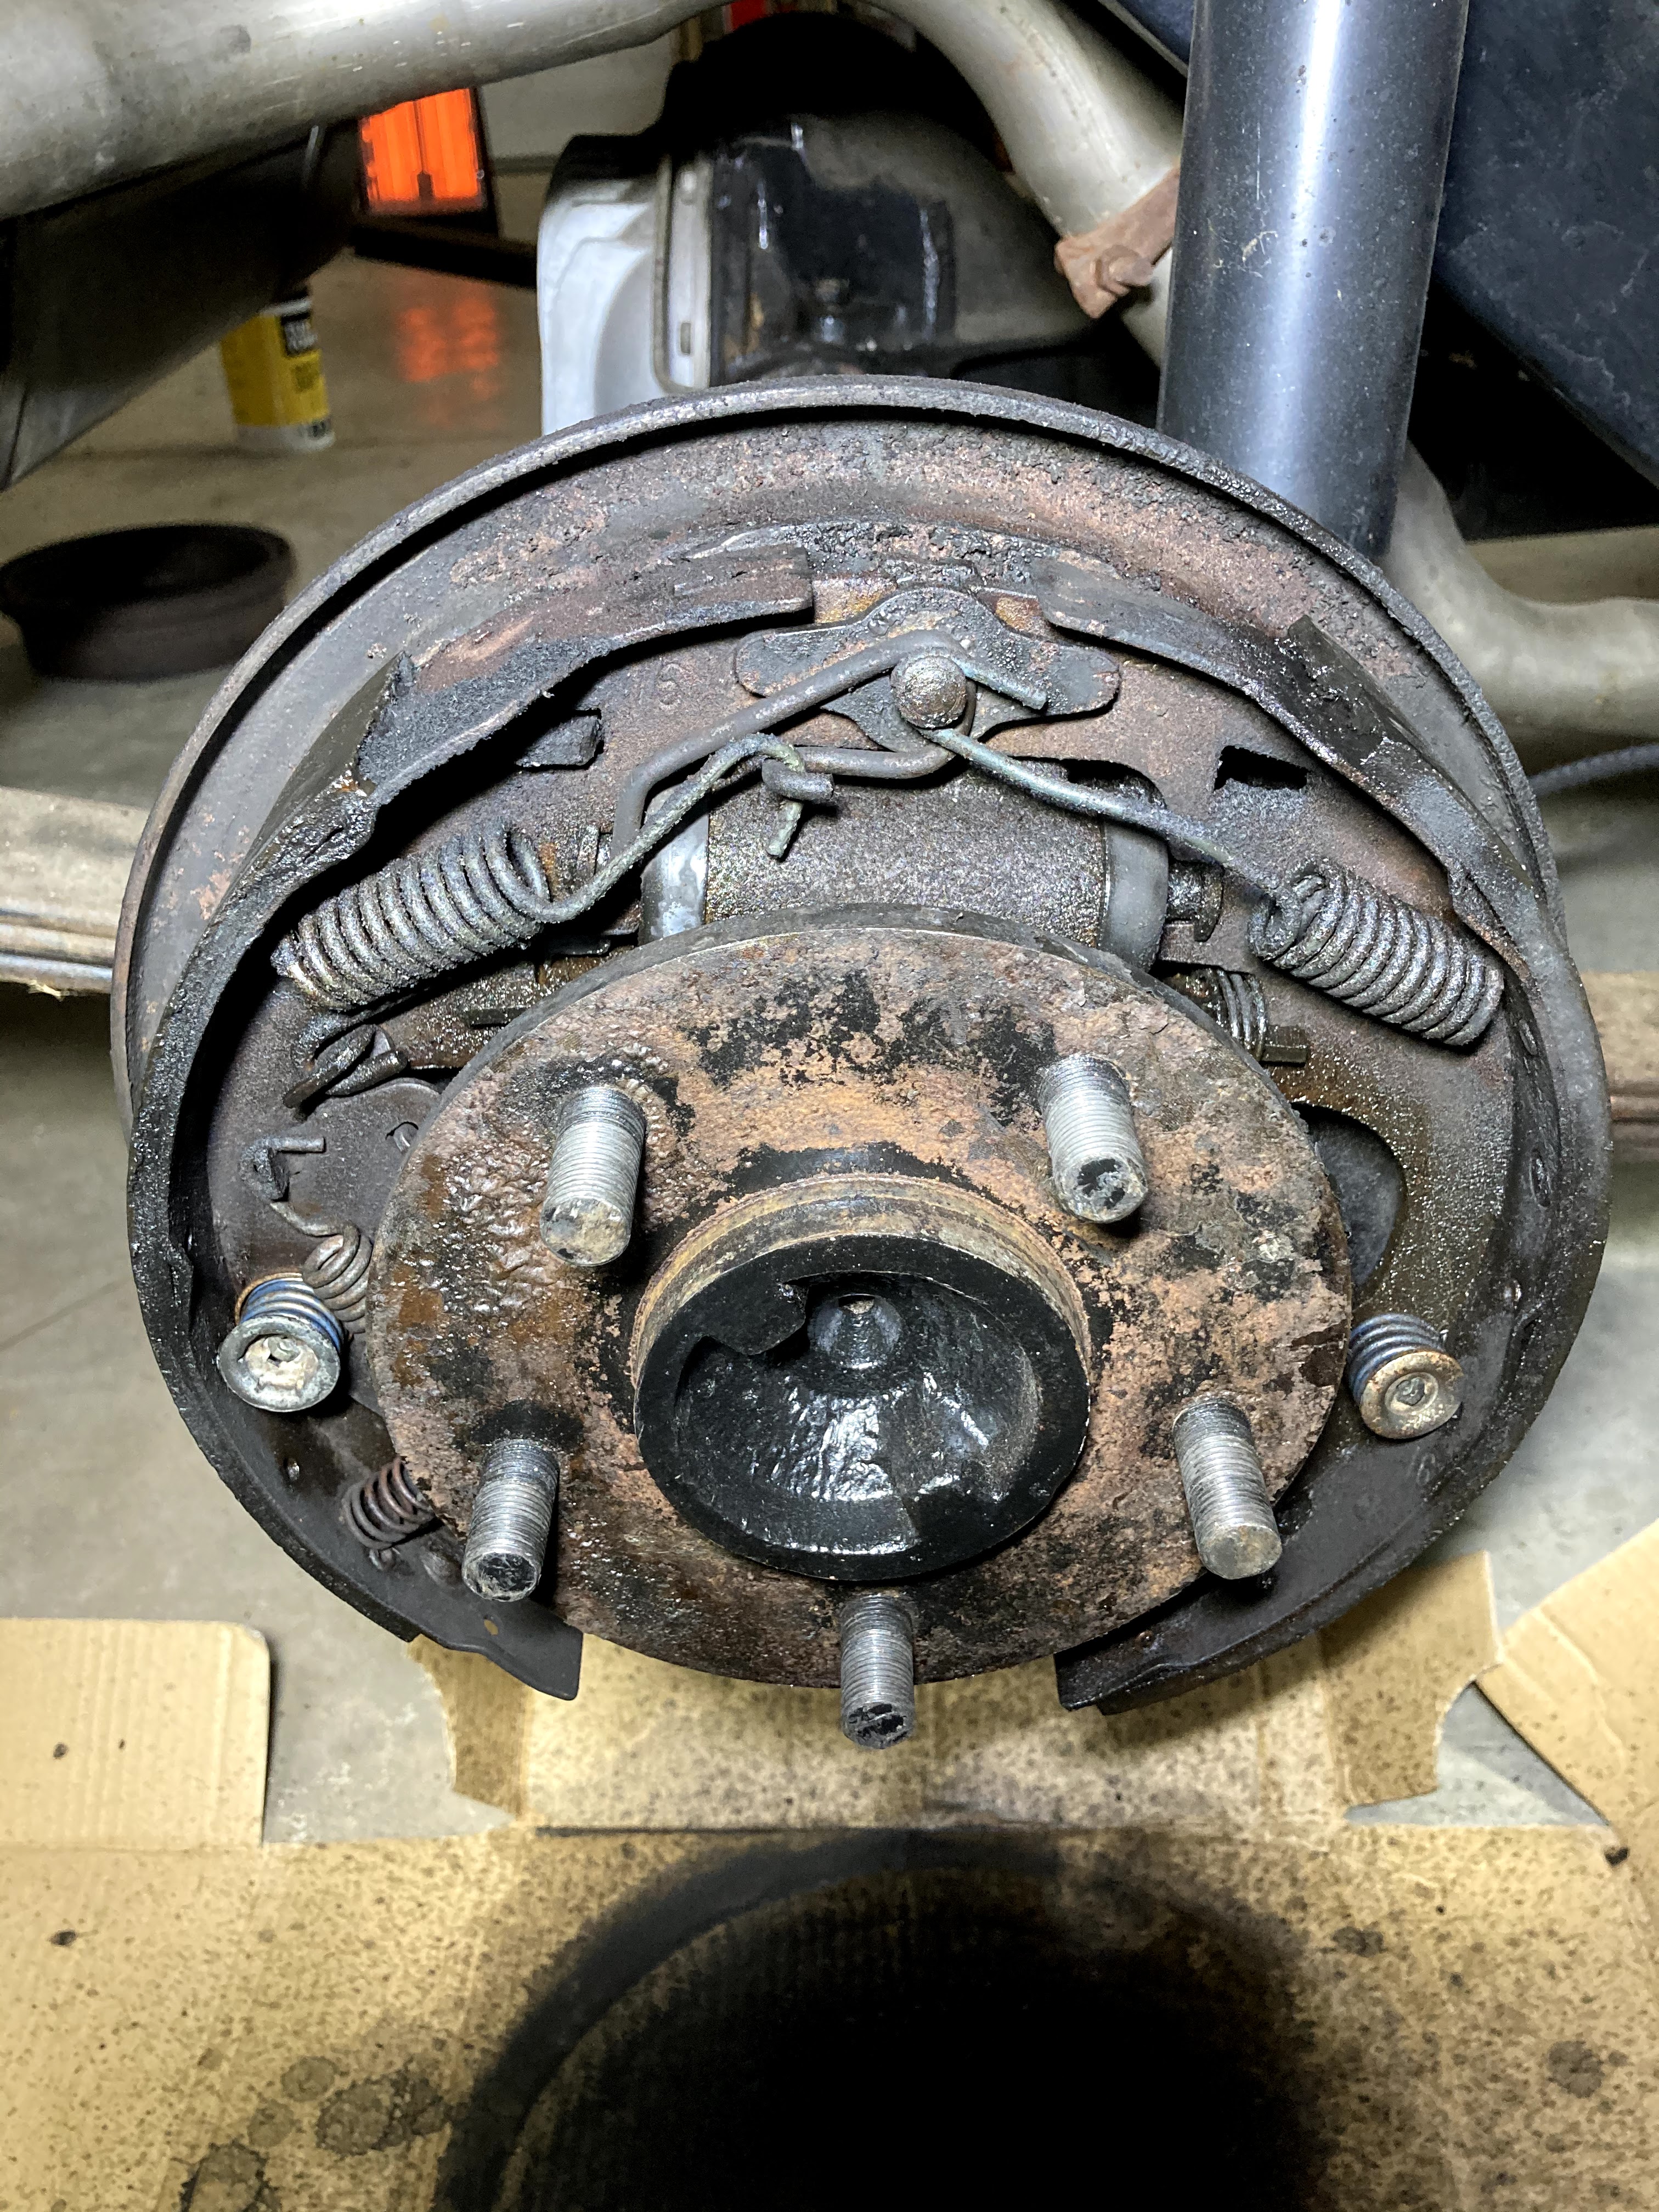
Provided your brakes aren’t literally broken like they were on my GTO, you will see a spaghetti mess of springs and levers after you remove the drum. Take pictures and carefully study this mess, as you will need to replicate it if you want your car to continue stopping. Are your safety glasses on? Get a drum brake tool, and carefully use the end shaped like a socket to twist the springs loose at the top of the drum. Start with the one on top. Don’t be surprised if the springs excitedly fly across your shop. Now, depress and rotate one of the retainer springs that holds the shoes onto the hub. There is another special tool for this, but you may be able to get away with using adjustable pliers (Channel-locks). Once the slot in the retainer spring cap lines up with the end of the pin, release the spring and it will come off. The shoes and adjuster should come off together after you remove those springs. Pay special attention to the way the self-adjuster and/or emergency (parking) brake cable are connected, if applicable. Pull the remaining springs and levers off and clean them, but don’t throw anything away just yet.
Next, look for brake fluid leaks. If there is any evidence of a fluid leak, get new wheel cylinders, or rebuild them if you have a real oddball vehicle. Some cars have side-specific wheel cylinders, so be mindful of that when ordering parts. If the brake line goes into the wheel cylinder at an angle, they are most likely side-specific. Wheel cylinder links are the small metal rods that come out of the wheel cylinder and push against the shoes. Most drum brake rebuild kits don’t include links, but there’s a good chance yours are pitted and worth replacing. Expect to spend about as much for the links as you did for the cylinders themselves.
If you are replacing wheel cylinders, you will need a line wrench, patience, and your choice of penetrating liquid. I use the OG: WD-40. Pull the links out if they didn’t come out already, then spray the end of the brake line and the fitting at the wheel cylinder with WD-40, being careful not to get lubricant on any shoes or drums. Carefully loosen the fitting with the line wrench, and observe whether or not the fitting turns independently of the line. You may have to work it back and forth to get the fitting free from the line, and it might be stuck completely. In that instance, you’ll have to replace that section of brake line. Finally, loosen the bolts that hold the wheel cylinder in place and pull the cylinder out.
There are multiple ways to reassemble drum brakes, but I find it easiest to go in reverse order of disassembly. First, install the new wheel cylinder. It might take some fiddling to get it into place, but it will fit snugly once it’s in the right spot. Always make sure the bleed nipple is above the brake line. If it isn’t, you have the wrong wheel cylinder, or at least the wrong side. Next, reconnect the brake line. It might be difficult to get the fitting started in the cylinder. Take your time and start the threads by hand. You can’t cross-thread the fitting that way (unless you’re Thor). Now, reinsert your wheel cylinder links. The next step will vary depending on the type of adjuster and if you have an emergency brake.
Most brake shoe sets have a “big” and “little” shoe. Little means that the friction material does not cover as much of the outer area of the brake shoe. If your set has different size shoes, the “little” shoe always goes in the front. If you’re working on rear brakes and have an emergency brake, reconnect the lever to its slot in the new shoe. Consult your pictures and the other side of the car if you’re not sure where it goes. Reattach one of your brake shoes with the retainer spring. Compress the spring and retainer, slide the retainer pin that comes through the backside of the mounting surface through the opening, and turn the spring so the slot is perpendicular to the pin.
To install the other shoe, you will need to line up the wheel cylinder links on both shoes with the correct notches in the shoe, then press them together. If you have an emergency brake lever, you will need to reinstall it and the spring during this step. It may take effort or multiple attempts to press all this together. The semi-circle at the top of each shoe should line up with the anchor pin at the top of the mounting surface. Then, you can set the adjuster in place. Pay attention to which side your adjuster is for. They are side-specific. Most newer adjusters are labeled “L” or “R” for the left or right side of the car. Put a small amount of brake caliper grease (usually provided with a rebuild kit) on the threads of the adjuster. Turn the adjuster to fit the gap in the bottom of the shoes. Reinstall your adjuster spring or self-adjuster now, if applicable. After you get the shoes installed, place the shoe guide (the piece that looks like a stretched out washer) over the anchor pin.
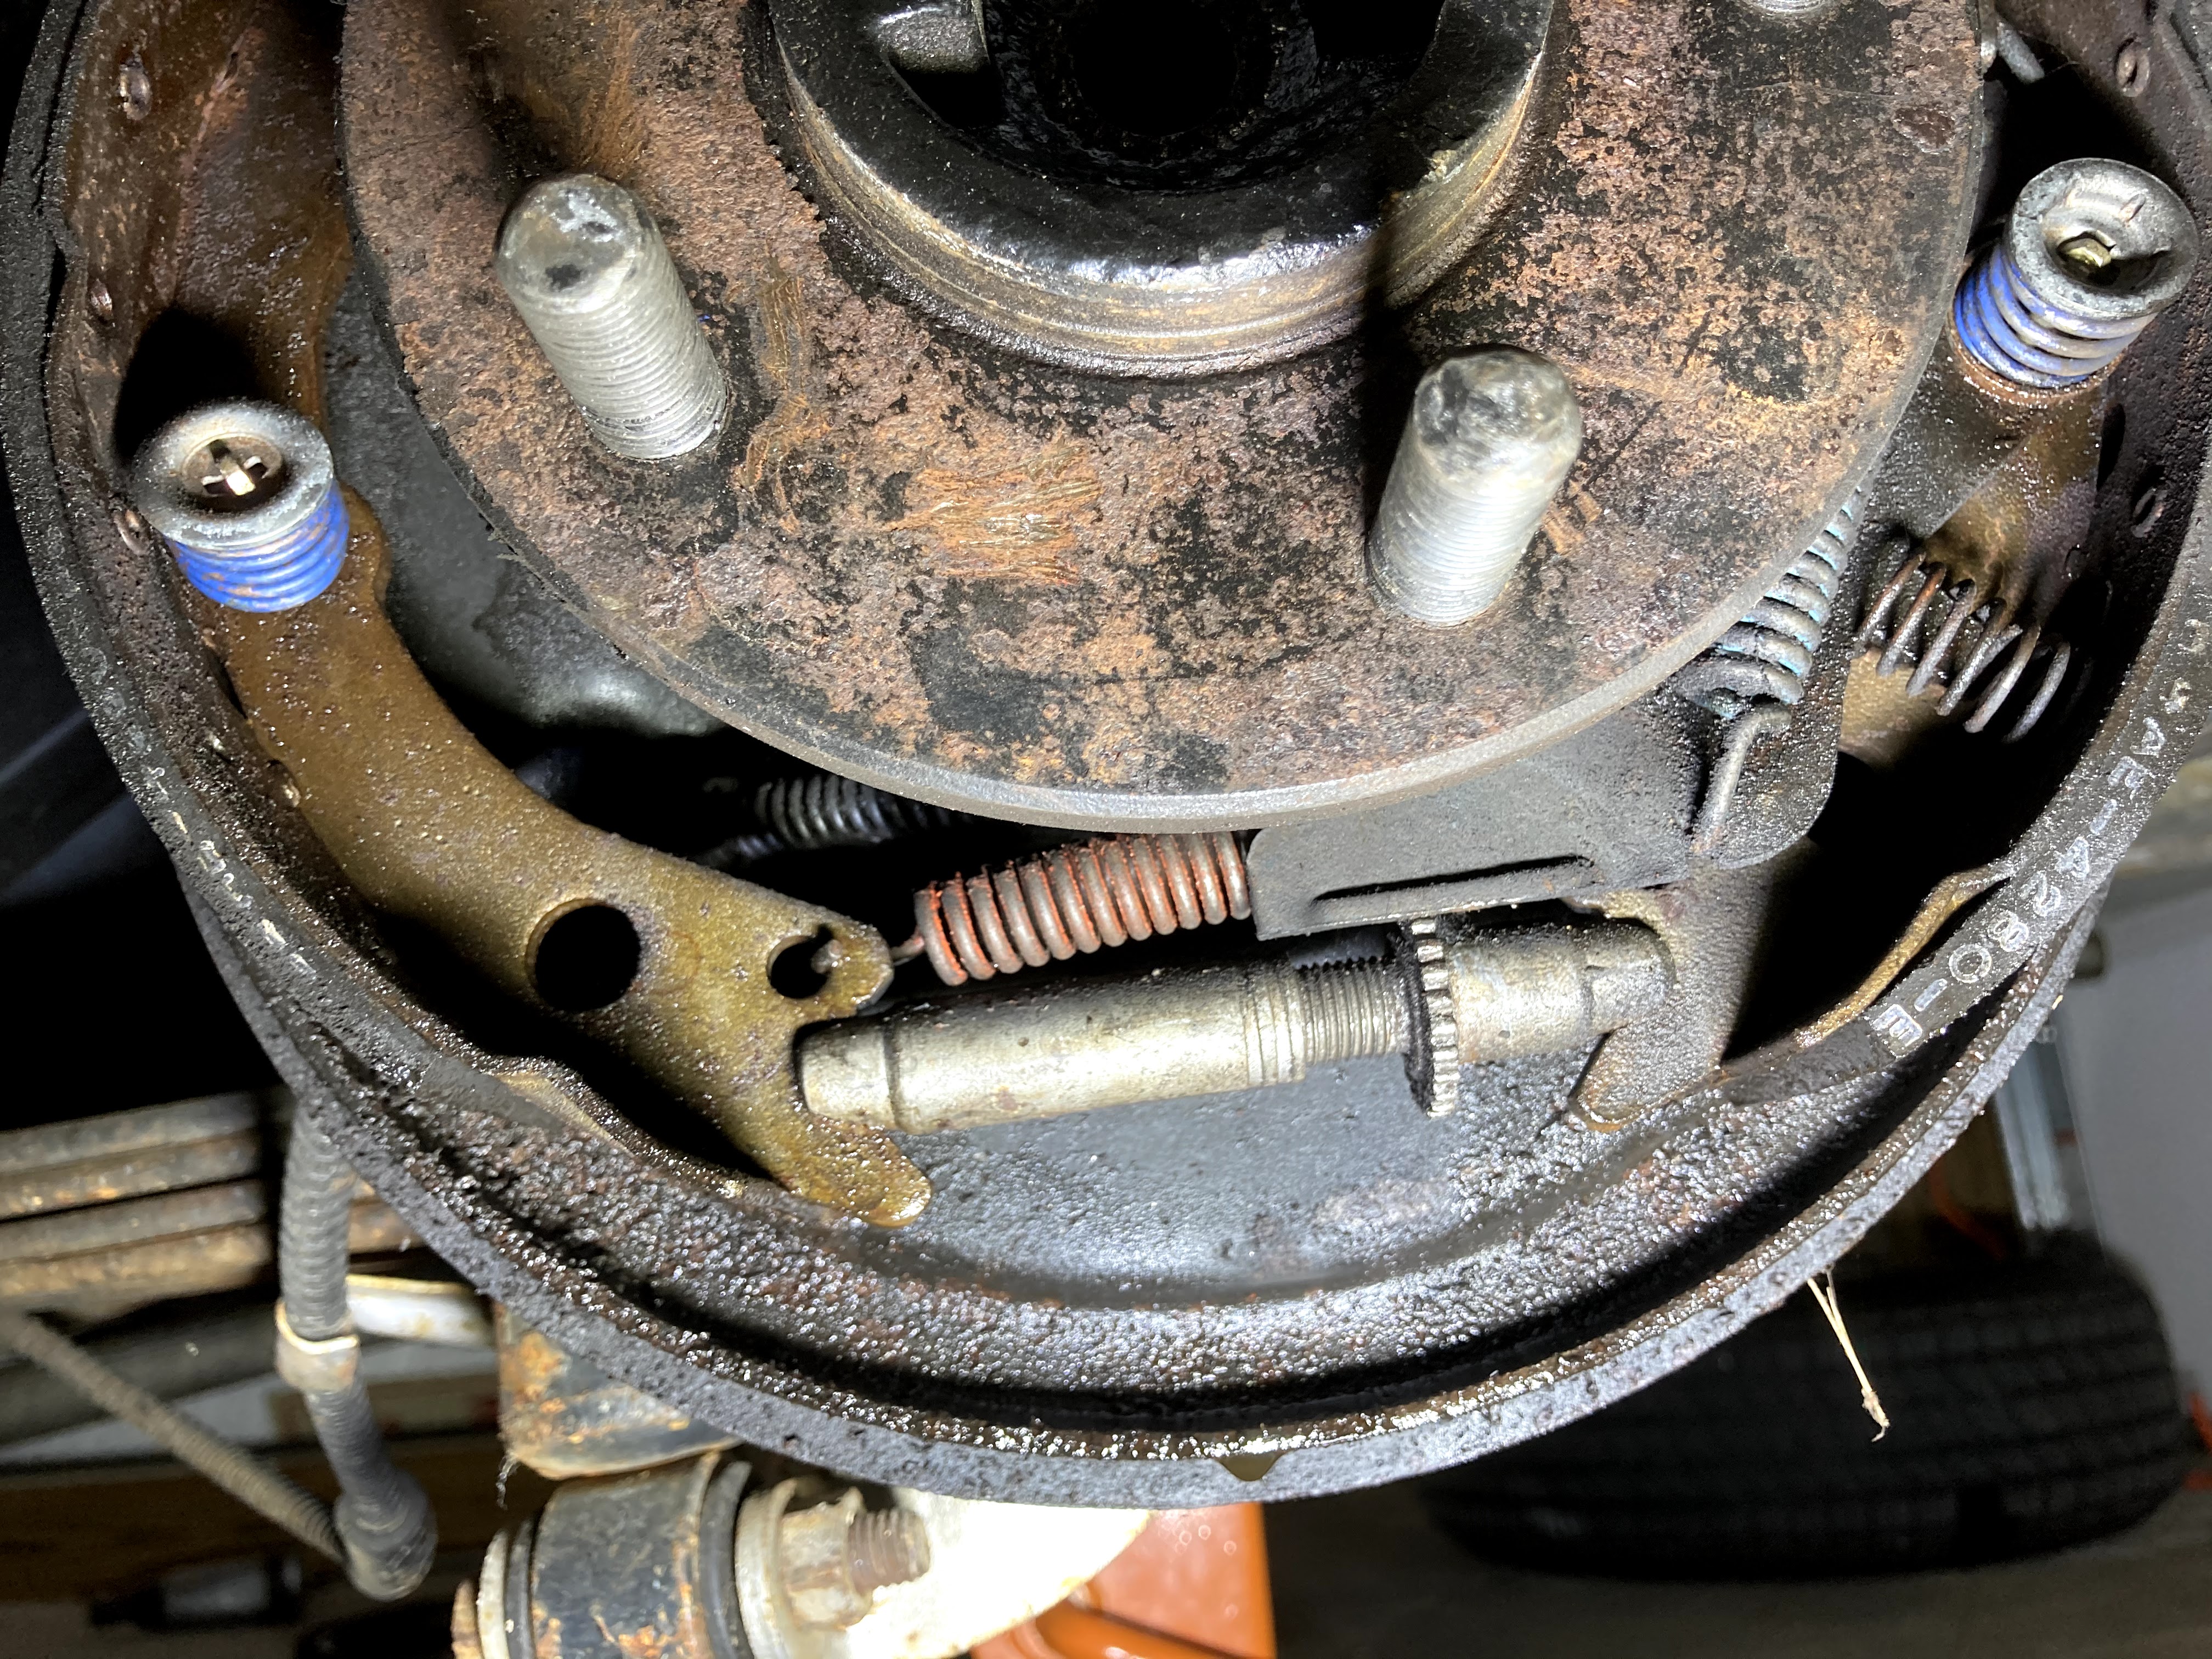
Now for arguably the most dangerous part of the job: installing the new return springs. These springs hook into openings on each shoe and loop around the anchor pin. Again, make sure you have on safety glasses. Start with the emergency brake link, if applicable, and use the straight arm of the brake drum tool to go under the long end of the link. Put the cupped end of the tool onto the anchor pin, and use the leverage of the tool to snap the link into place. If you’re working on front brakes, the first step will be similar, but for the inner return spring instead of the e-brake link. Don’t panic if you don’t get it on the first try, even if the spring scrapes something on its flight and causes sparks to fly. This happened to me while working on my ’68 Camaro’s brakes recently. Repeat the process with the straight arm of the tool for the inner spring for rear brakes or the outer spring for front brakes. If you’re working on rear brakes, take the hooked end of the brake drum tool and hook the long end of the other return spring. Then, use the pointed end of the brake drum tool to grip the shoe. If you have original-style shoes, there are reliefs in the friction material into which you put the claw of the brake drum tool. If you have aftermarket-style shoes, you may have to reach to the side of the shoe. This is still possible, but it is a bit tricky. Finally, use the tool’s leverage to stretch the spring into the hook on the e-brake link. Look over the reassembled brake, consult your pictures, and compare it to the other side. Does everything look like it did before? If so, repeat the process on the other side. Lastly, you will need to bleed the brakes.
There are tools that allow you to bleed brakes by yourself, but I’ll stick to the two-person method for this article. You will need a wrench to loosen the bleed nipple, a bottle to catch fluid, and a hose to drain the fluid. A clear hose works best so you can see the air bubbles as they come out of the brake lines. First, open the master cylinder and fill it up. Start bleeding at the farthest brake from the master cylinder. If you have a dual-line master cylinder, you shouldn’t need to bleed both front and rear brakes if you only disconnected one pair. Get someone to sit in the driver’s seat to pump the pedal a few (usually 3-5) times, then hold the pedal down. Connect the hose to the bleed nipple, then loosen the bleed nipple. You will see some fluid come out, but it will be mostly air at first. Retighten the nipple, and ask your helper if the pedal went to the floor when you loosened the nipple. Periodically check the master cylinder and refill it if necessary. You don’t want to put air back into the line because of an empty master cylinder! Also, make sure that the end of the hose does not go below the surface of the fluid in your bottle. The bottle becomes part of the brake system if that happens. Repeat this process until there are no air bubbles in the line when you loosen the nipple. Eventually, your helper should notice more pressure in the pedal when they press it down. Repeat the steps on the other brake(s). The other brakes should not have as much air in the line. Now, put the wheels back on and get back on the road!
Should you switch to discs if you’re working on brakes anyway? It comes down to personal preference, but there are positives to keeping it old school. Drum brakes make little to no brake dust, so your wheels will stay cleaner. Speaking of wheels, drums take up less space and allow you to use a smaller diameter wheel. It’s also much cheaper to replace wear items on drum brakes than it is to change out practically everything on your spindle or axle to convert to discs. Either way, what’s stopping you from tackling your own brake job?